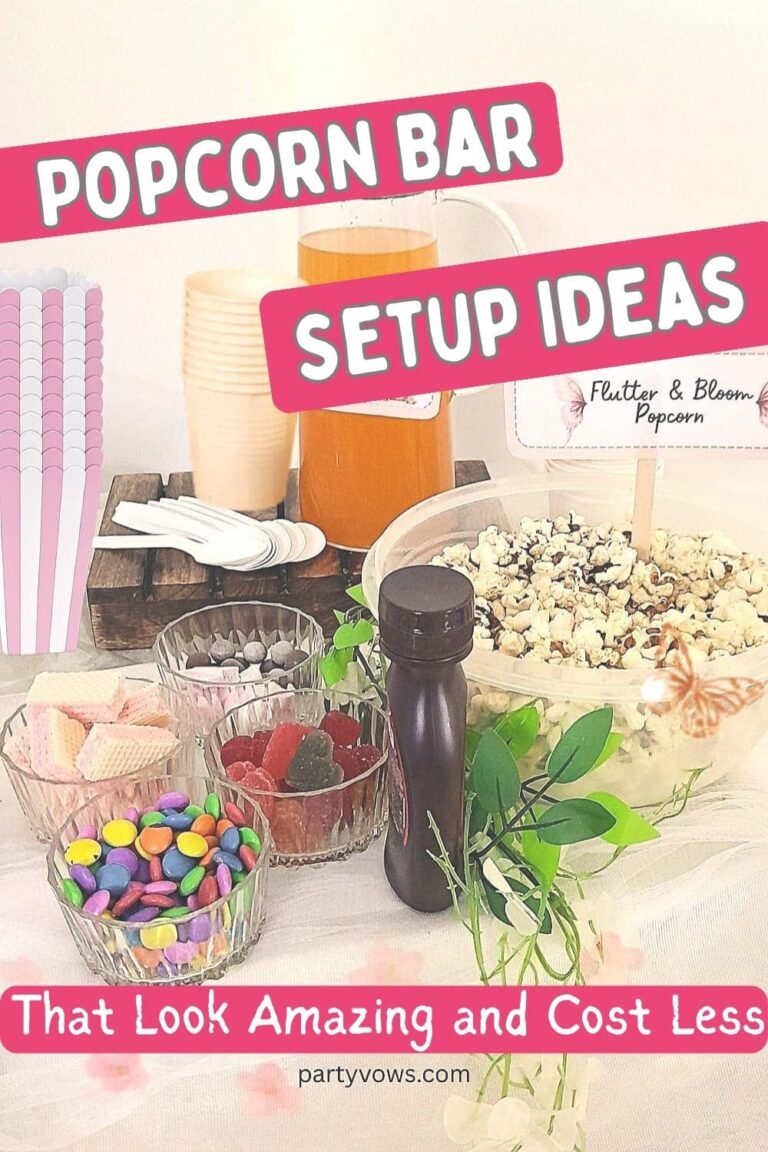
Quick & Easy Chocolate Lollipops
If you are looking for some easy, sweet treats that you can make in no time, try these Chocolate Lollipops. Whether you are looking for birthday treats or a sweet craving, these cute lollipops can be made in minutes with very few ingredients. It is an easy treat to make at home that anyone can make, with loads of ways to customize to make it part of any party treats.
Why You Will Love This Recipe
I love this recipe because it:
- Just need 1 ingredient
- So easy to make that anyone can make it and still looks stylish.
- Ready to serve in 20 minutes.
- You can customize it to so many variations and occasions.
How to Make
What You Need
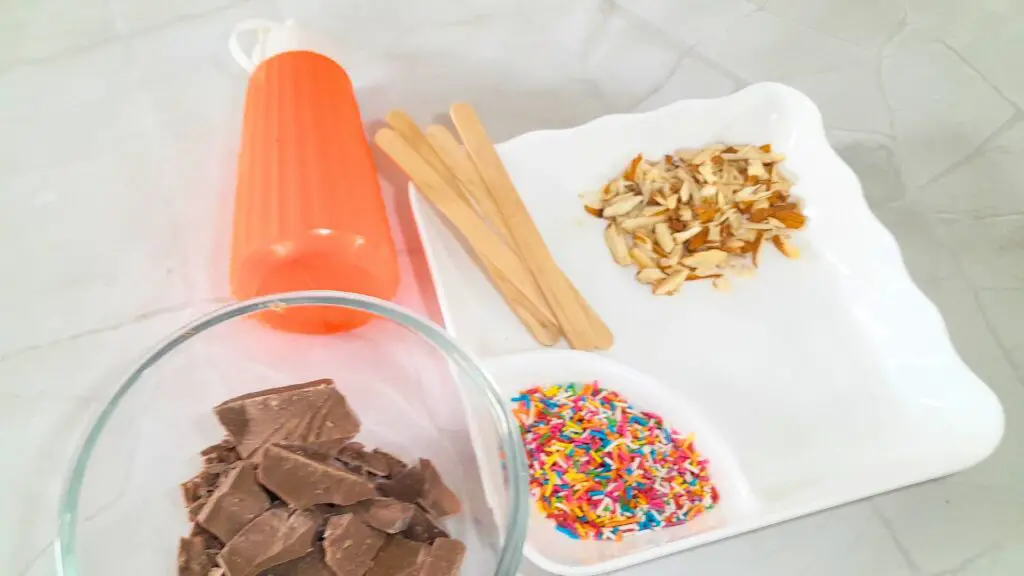
- 7 oz. of Compound Chocolate
- 1 squeezer or piping bag
- A few popsicle or lollipop sticks
- Garnish of your choice, I have used almond flakes and sprinklers
Step-by-Step Guide
- Melt the chocolate in a microwave-safe bowl for 2 minutes, pause every 30 seconds, and mix it gently. I have used chocolate bar so, I had to chop it in pieces for even heating. If you are using chocolate chips or pellets you need to just add the required quantity to the bowl.
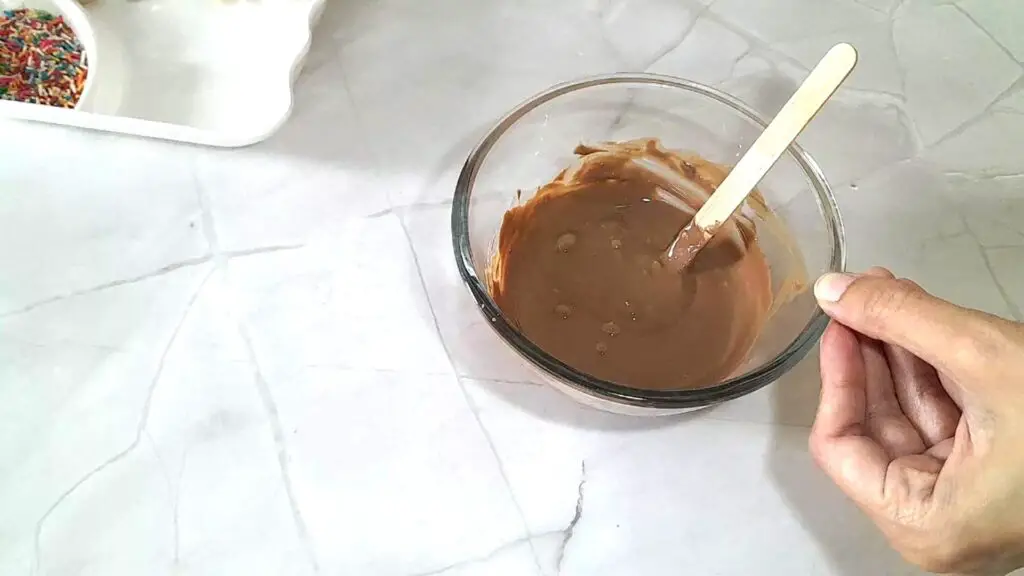
- Pour the melted chocolate into the squeezer or piping bag.

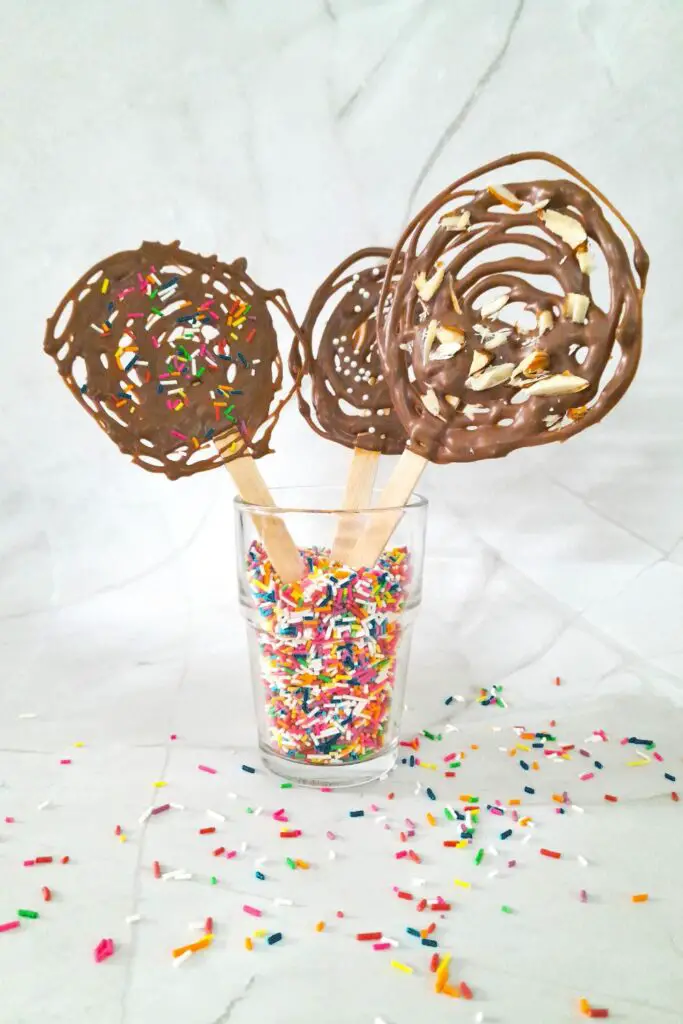
- Lay a parchment paper on a flat surface and place the lollipop stick on it. Now drop some melted chocolate on the tip of the popsicle stick and gently move, while squeezing to make some swirls. You don’t need to be precise. Make sure to fill the space in between the swirls making a mesh.
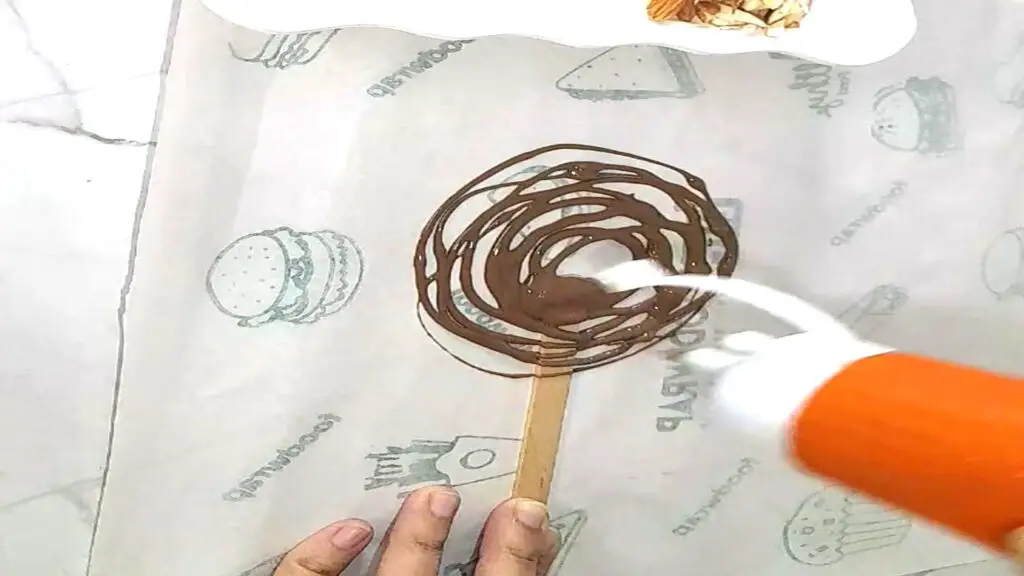
- Sprinkle some toppings of your choice before the chocolate turns hard.
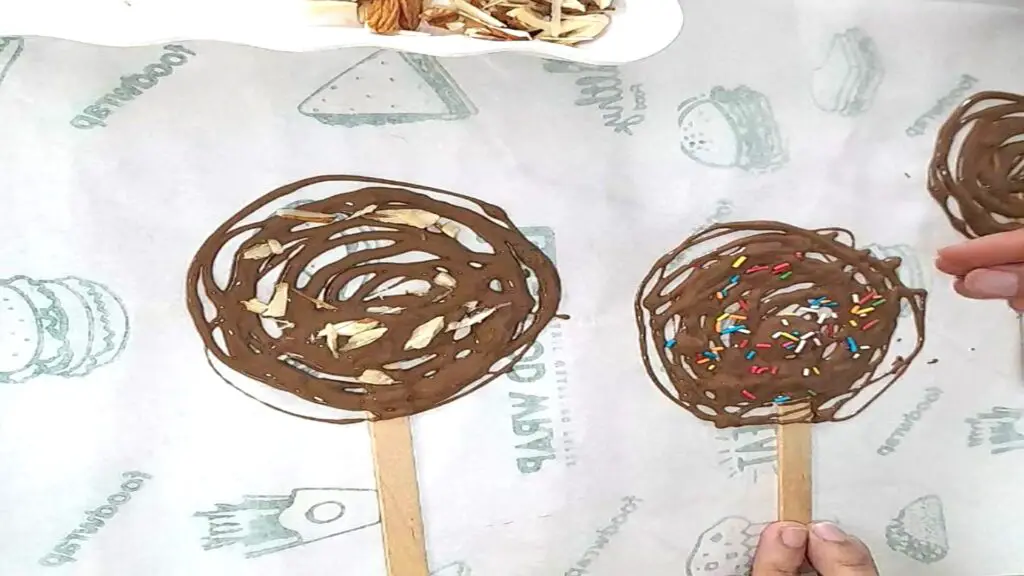
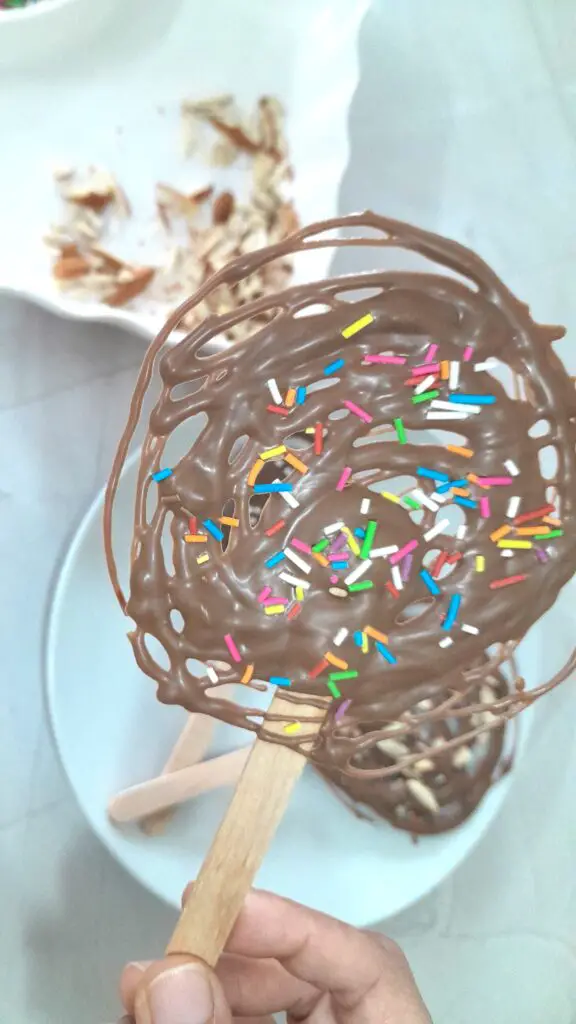
- Let it rest for around 15 minutes. And then gently remove it from the parchment paper.
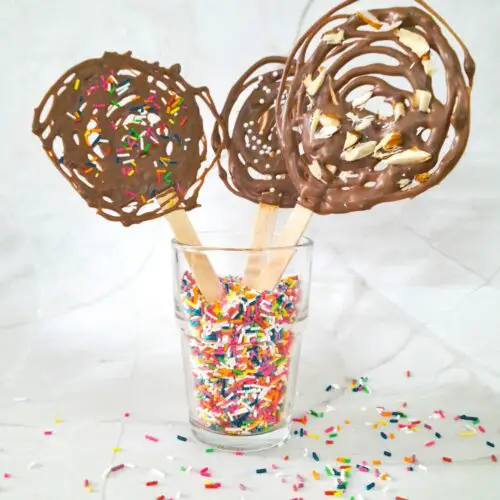
- That’s it, your cute and stylish looking chocolate lollipops are ready.
Watch the Recipe Video
Here is a quick step-by-step video of making chocolate lollipops
Important Recipe Notes
Make sure not to disturb the lollipop stick while they are drying. So that the stick is firm.
Be quick, while making the swirls, to get that even look.
If your chocolate mesh is looking thick, raise your hand to get more height. It will give you a thinner mesh.
Make sure the drizzle the chocolate in a diagonal direction too, after you make the swirls, to get a firm circle that does not break after drying.
Serving Suggestions / Variations
The best part of this recipe is the many ways in which you can customize it to your liking and occasion.
- You can go for a different dry fruit topping. I have here sprinkled some silvered almonds; you can use any other. Finely chopped pistachios pair well too. You can even finely chop some dried berries for a sweet-tangy flavor.
- For birthday parties or if you are making them for kids, you can go with any choice of sprinklers. For themed parties, go for party color sprinklers or just rainbow colored sprinklers, like the ones I have used.
- You can even use white chocolate or add food-grade color to melted white chocolate to make some colored chocolate lollipops.
Storage and Make-Ahead Tips
- These chocolate lollipops can absolutely be made in advance, just ensure to store them well in air airtight container.
- I had stored them by stacking one above the other, and they were just fine. Just make sure the container size is enough not to break the swirls.
- I had them stored for 4 days in the refrigerator and they were fine.
- You can also add lollipop plastic covers to each and seal with a bow to serve at a party.
FAQs
Make sure to try this recipe for your next party or to surprise your kids. My daughter loved the one with colorful sprinklers. These chocolate lollipops look so cute and stylish that you will be surprised that they are so easy to make.
Quick & Easy Chocolate Lollipops
Ingredients
- 7 oz. Compound Chocolate
- Sprinklers or Garnish of choice
Instructions
- Melt the chocolate in a microwave safe bowl for 2 minutes, pause every 30 seconds and mix it gently.
- Pour the melted chocolate into the squeezer or piping bag.
- Lay a parchment paper on flat surface and place the lollipop stick on it.
- Now drop some melted chocolate on the tip of the popsicle stick and gently move, while squeezing to make some swirls.
- Sprinkle some toppings of your choice, before the chocolate turns hard.
- Let it rest for around 15 minutes. And then gently remove it from the parchment paper.