How to Make Fun Candy Charcuterie Board
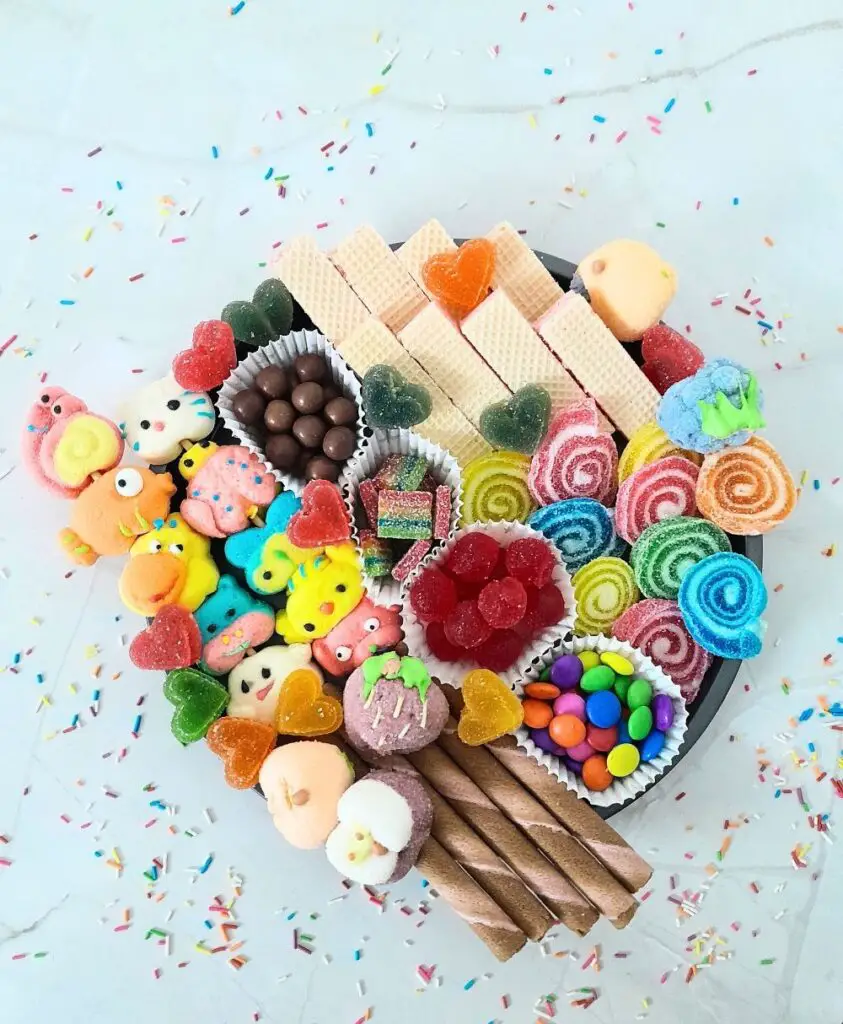
A super fun and easy way to make your party food table exciting is to have a charcuterie board, and what better way for a candy display and make it exciting for kids’ parties than a candy board? Food boards just elevate food display and make everything look so appealing, like a practical decor. Whether it is a birthday, play date, or sleepover, a candy charcuterie board can be an easy addition to your menu that will be loved by all. It only takes 15 minutes and no cooking, so just grab all the candies and let’s start making it.
How to Make
What You Need
- Maltesers
- Sour Rainbow Belts
- Strawberry Chewy Candy
- Plain M&M
- Gummy pinwheels
- Stawberry Wafers
- Chocolate Rolled Wafer
- Cute shape Marshmallows
- Jelly hearts
Step-by-Step Guide
- Start by selecting a tray or board over which you will arrange the candies. I have used a circular baking pan that was available to me. I had a dilemma about using a wooden board, but since the pan is lightweight and easy to carry, I wanted to give it a try, as I have used a wooden board many times. Feel free to use whatever is available to you.
- Next, based on all the sweets available to you, visualize the arrangement. I decided to have all the small sweets in the middle.
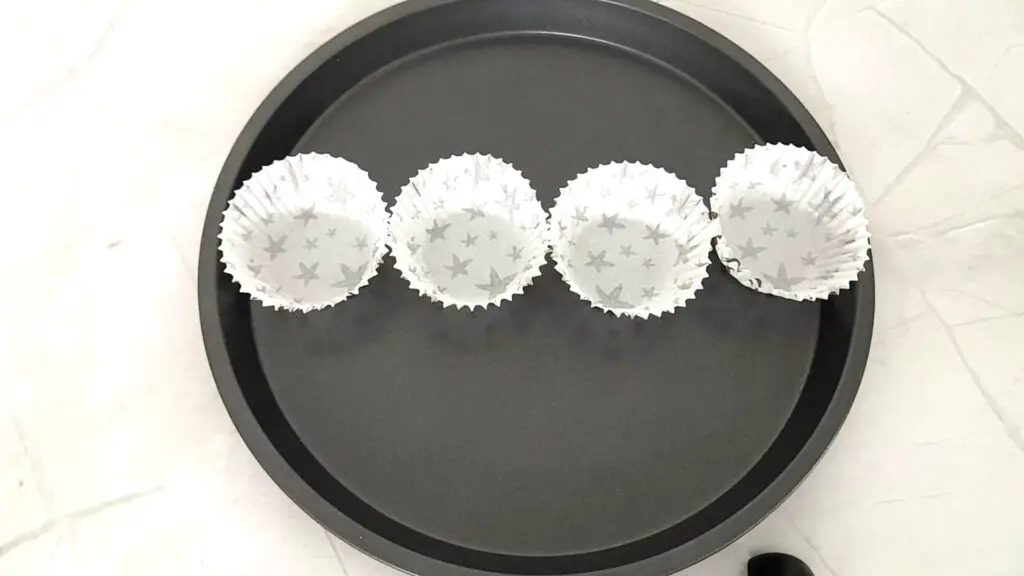
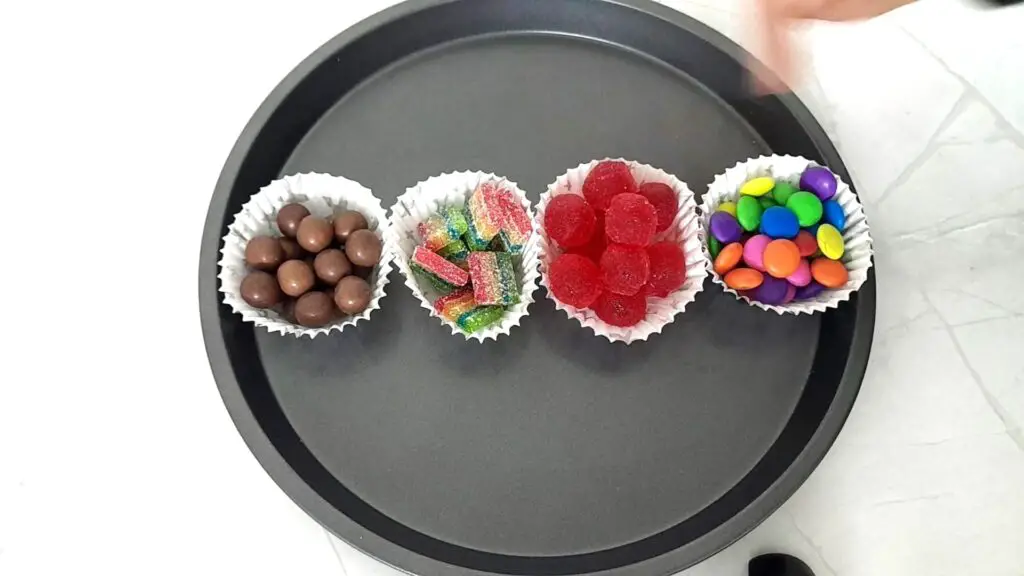
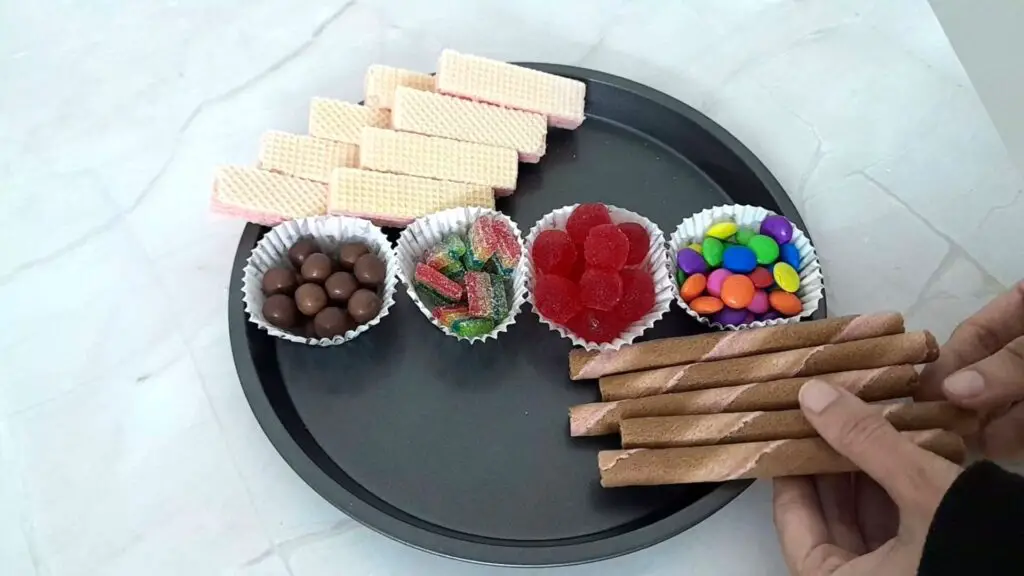
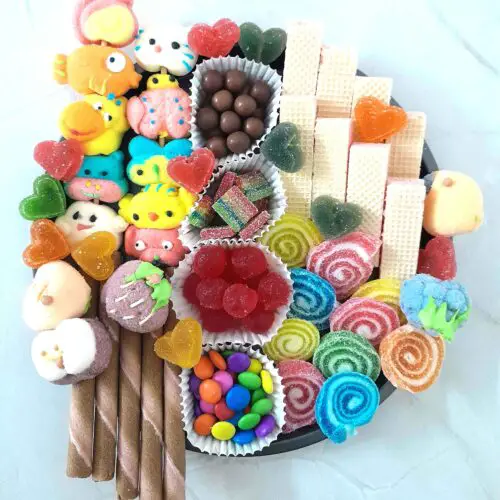
- I used cupcake liners to place all the small candies, i.e. Maltesers, Sour Rainbow Belts, Strawberry Chewy Candy, and Plain M&M, in the middle and started filling them.
- Next, I moved to the crunch elements of the charcuterie board and placed the two types of wafers diagonally. So that it can be easily accessed and bring a visual variety.
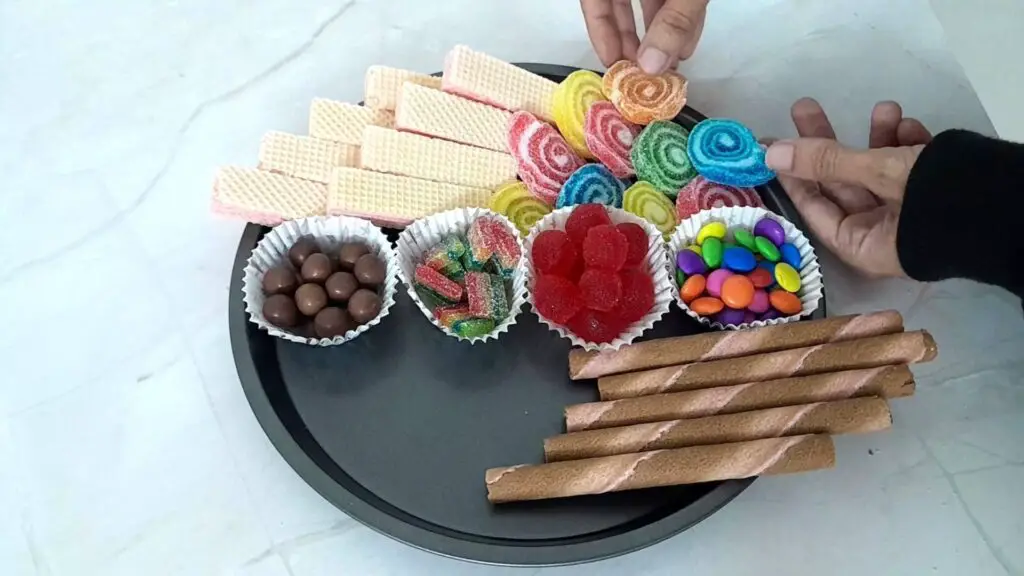
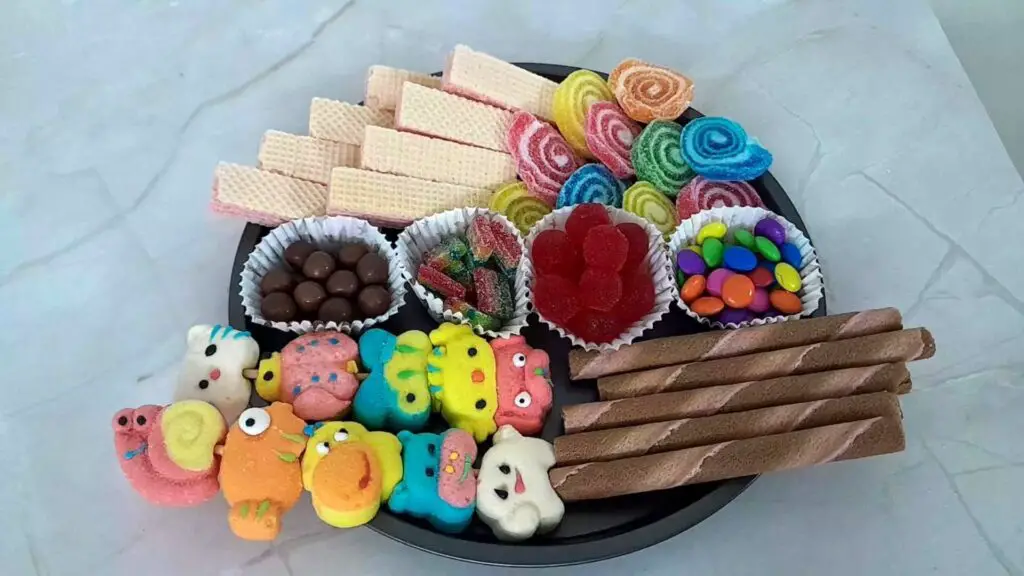
- Next, I placed the colorful gummy pinwheels below the strawberry wafers and different-shaped marshmallows next to the chocolate rolled wafer.
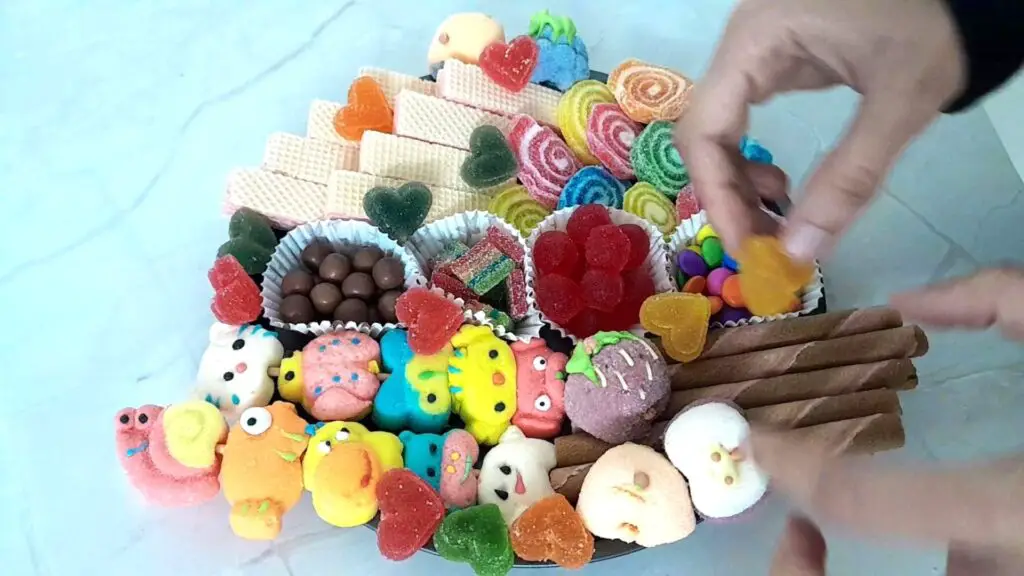
- Once all the arrangements were complete, I filled any void space with jelly hearts and the remaining marshmallows.
Tips for a Beautiful Candy Board
Here are some tips to make your candy board look prettier.
- I wanted this candy board to be vibrant and colorful, so I selected different colored sweets. But more importantly, when I placed them, I looked to pair contrasting colors to make all the sweets pop and not get masked by a similar color.
- Play with candy shapes and sizes. Not just color, but different sizes and shapes of sweets also make your candy board look more appealing. Like the swirl-shaped jelly and cute animal-shaped marshmallow make the board look prettier.
- Add a different texture to your candy charcuterie board. A mix of crunchy wafers with soft chewy jelly and hard candy or chocolates makes the candy board versatile, with options for everyone’s liking. And different textures make it look more appealing.
- Instead of laying everything flat, you can play with containers to not only make the candy board look neat but also more attractive. You can use different shapes and colors of cups to hold the candies. Get creative with things available to you. I did not find anything matching the size I was looking for, so I used cupcake liners.
- Always have some small candies or chocolates extra to fill up the gaps. It just completes the look of the candy board and makes it look fuller.
Tips for Fun Variations to Your Candy Board
There are endless ways of making a candy board for different occasions or just to bring a variety.
- Monochrome: Instead of colorful candy boards, you can keep it monochrome, like pink, red, or blue, and use only a particular color of sweets in different shades.
- Seasonal: You can also bring variety of the season to your candy board by either using the season or holiday colored candy or by using season-specific candies like candy corn for fall, candy cane for Christmas.
- Flavor: You can also try to make your candy board unique by focusing on a particular flavor or type of candy, like only chocolates, or sour candies, or only gummies.
Watch the Recipe Video
Here is a quick step-by-step video of making this fun candy board
FAQ’s
Candy Charcuterie Board
Ingredients
- Maltesers
- Sour Rainbow Belts
- Strawberry Chewy Candy
- Plain M&M
- Gummy pinwheels
- Stawberry Wafers
- Chocolate Rolled Wafer
- Cute shape Marshmallows
- Jelly hearts
Instructions
- Start by selecting a tray or board over which you will arrange the candies.
- Based on all the sweets available to you, visualize the arrangement.
- Add Maltesers, Sour Rainbow Belts, Strawberry Chewy Candy, and Plain M&M to cupcake liners in the middle.
- Add crunch elements of the charcuterie board by placed the two types of wafers diagonally.
- Add colorful gummy pinwheels below the strawberry wafers and different-shaped marshmallows next to the chocolate rolled wafer.
- Fill any void space with jelly hearts and the remaining marshmallows.